How to Build a Carry-On Power Bundle That Actually Works on Long Trips
A carry-on power bundle should reduce travel stress, not increase it. Use these practical checks to buy fewer chargers and adapters while staying airline-compliant and budget-friendly.
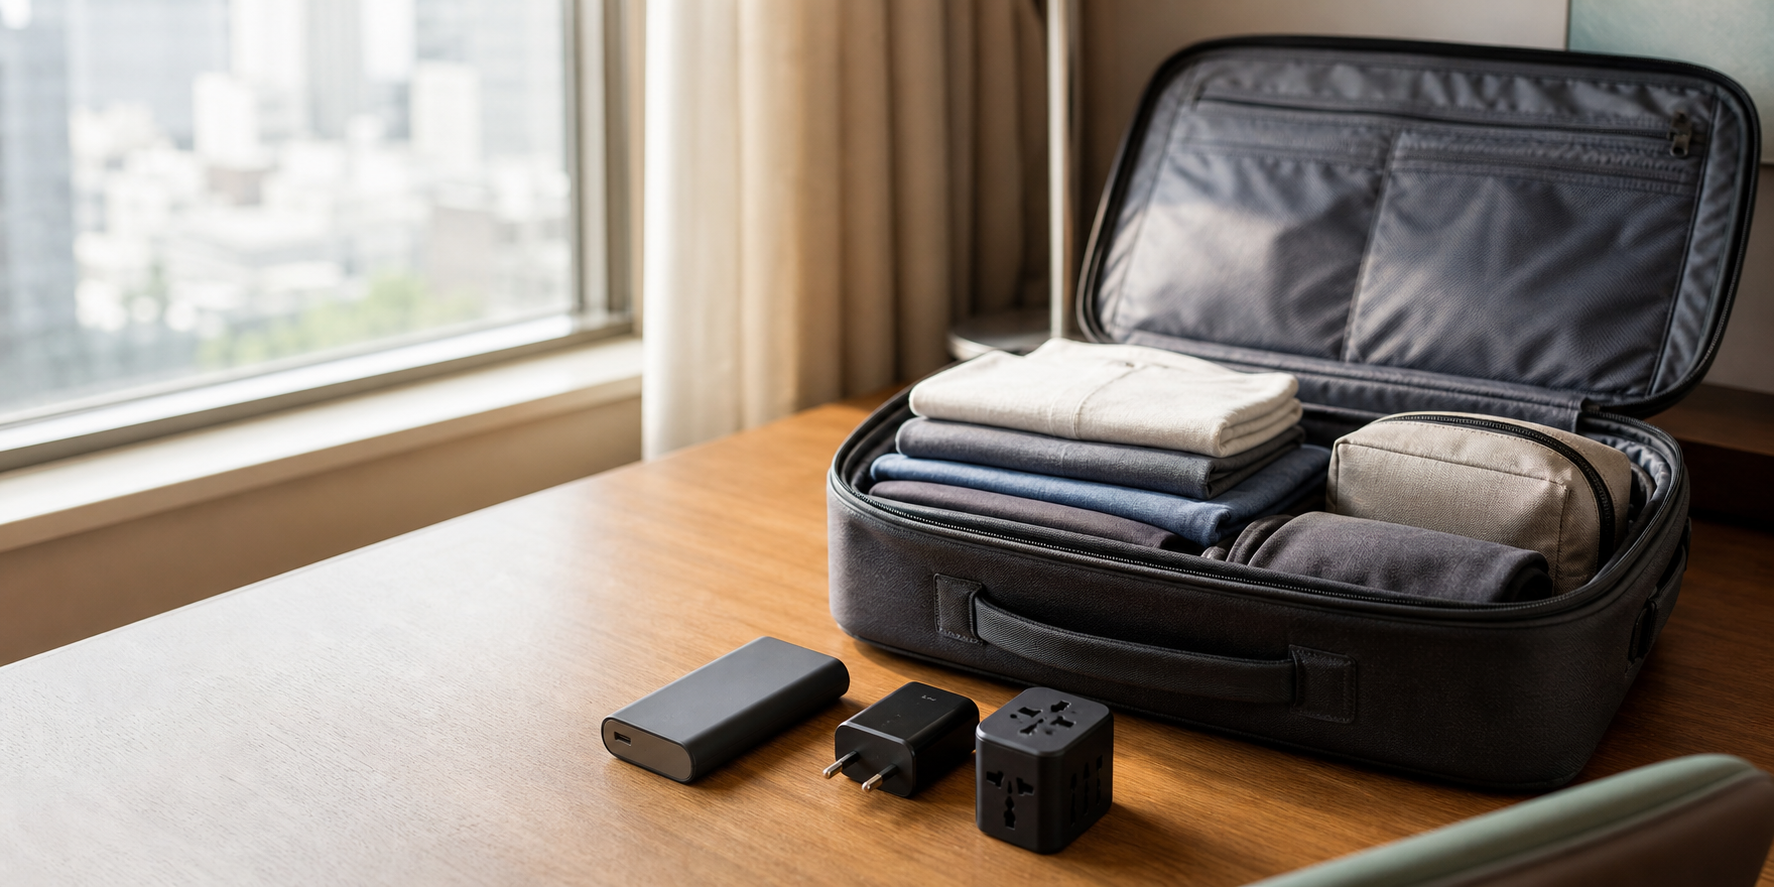
Before the plane doors close, your bag is usually wide open on the floor. That is the moment when you discover what you truly need. You have three charged devices and a hand full of chargers, yet your laptop is still waiting for power and your phone already reached panic mode. The problem is not always low battery. The problem is usually mismatch: too many cables, no plan, and one expensive gadget added because it looked useful for a five minute use case.
Travel charging is simple once you treat it as a small system. The goal is not maximum power, it is minimum reliable power. You want a group of items that fit together, not a bag full of leftovers from older trips. If each new purchase solves one exact moment, you can travel with confidence and buy less on the way.
Start by defining your trip profile before you search
Before opening a single product page, write down three values: number of people, number of devices, and number of overnight stops. A one night trip with two phones and one laptop is not the same problem as a ten-hour trip with two tablets and a camera.
Use this one-minute rule: if your trip needs more than one device type charging from the same cable, then a compact power hub is a must. If it needs only one cable for one phone, then a big hub is often unnecessary. This rule helps avoid the first mistake people make, which is buying a premium charger when a basic set was already enough.
Know airport battery constraints first
Many travelers are comfortable with charging at home, but lose confidence at airports. That often pushes them into buying extra devices just in case. The FAA airline passenger battery guidance is a good baseline, and it reminds us that lithium power items are typically handled carefully and should be listed clearly before travel.
The practical way is to map watt-hour limits for every battery you are considering. If a listing is not clear about capacity, weight, or compatibility, set it aside. A travel power kit should be built from known limits, not from assumptions made at the terminal counter.
Create three zones inside your carry-on
Split your power kit by use case, not by brand loyalty. This keeps overlap low and travel friction lower.
- Zone 1 - daily essentials: phone, watch, earbuds. These items need fast top-up speed.
- Zone 2 - long use: tablet, camera, or laptop. These need stable output for longer sessions.
- Zone 3 - backup: one reserve for delays, transfers, or shared device charging.
If one item can already cover Zone 1 and Zone 2, then your backup should be one small dedicated layer and not a second huge device.
Choose a hub by output behavior, not by marketing adjectives
Some products push design language first and stable output second. A better method is to compare three things and stop.
- Can the device keep one port reliable while another is still charging?
- Does the charger detect fast-charge mode without long resets?
- Are included cables compatible with the plug type you actually need?
If any answer is unclear, remove the option. It is cheaper to test three clear options than to pay for a big charger and then discover your setup does not behave at the gate.
Use examples that fit real travel setups
People usually buy one power bank, then realize the charger only fits some cables at home. That mismatch creates gate frustration. A cleaner approach is to pair one high-quality bank, one compact hub, and one adapter set that matches the trip profile.
A reliable mid-size power bank base is often the anchor. Anker-style 20,000 mAh power bank options can be a strong base when capacity and output match your itinerary. For port coverage, a compact multi-port option can keep one outlet setup calm and predictable. A compact USB-C hub with multiple ports can simplify that first layer in your bag.
When crossing regions, many travelers overbuy adapters. A practical route is to pick one adapter path that can grow with you. A stable multi-region adapter option can reduce cable chaos if it fits your plug needs and your luggage size. If laptop work is part of the trip, then a stronger foldable charger can be the right final piece. A foldable GaN option with higher watt output may finish the setup nicely.
Buy with a deal process instead of impulse speed
Discount hunting is a process, not a mood. First, define your shortlist. Then compare coupon timing only for final candidates. Finally, verify returns, warranty, and shipping window before you buy.
Checking a deal page late in the process is fine. Doing it first is where people spend extra. Amazon deal pages can help with timing, but only after the shortlist is already set.
Use one final rule: if the final item does not fit your three zones, it is not in the trip budget even if it is cheaper.
Run a quick home simulation before purchase
Do not skip this step because it feels too basic. Put your full shortlist in the carry-on, connect your real devices, and run a two-hour trial charge cycle. If you need frequent cable swaps, it will likely fail in the airport too.
Use two checks right after the trial:
- Can top-priority devices remain usable after simulated delay?
- Can everything stay in one carry-on pocket without blocking access?
If either check fails, simplify the kit and rerun the test once. A simpler kit is often the one that survives real-world use and airline timing.
Final note for future trips
Travel has changing variables, but your power plan does not need to be random every time. You do not need the broadest charger, only the one that matches your devices and your trip rhythm. A calm setup makes travel smoother, reduces wasteful spending, and helps you focus on the journey instead of counting dead batteries.
A good carry-on power bundle starts with constraints, then narrows to utility. Build it this way once, and each trip will cost less in surprises and less in unused hardware at home.