Cloudy Headlights? Check the Kit Before You Start Restoring Them
A faded headlight lens can make a car look tired, but a restoration kit is only useful if its steps and contents suit the job. Check the lens, read the directions, and compare the QIFOR kit with what you actually need before opening a bottle.
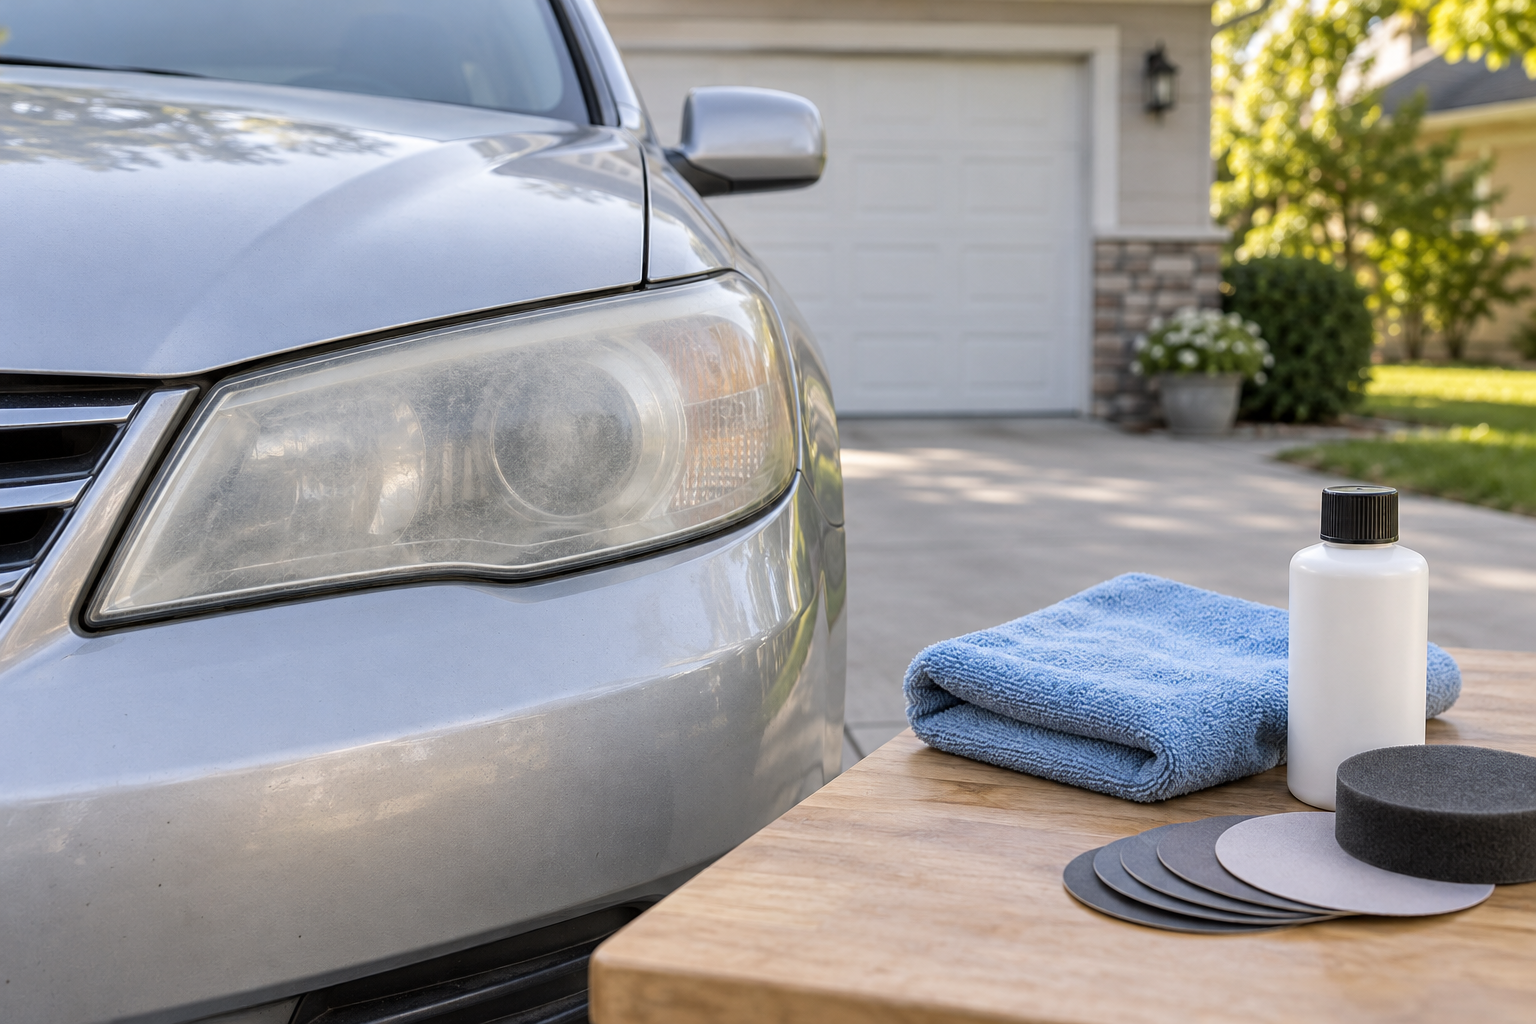
You notice it while loading groceries after dark: one headlight looks hazier than the other, and the beam seems less crisp. Maybe it is surface oxidation. Maybe it is a deeper problem. Before buying a restoration kit, take a minute to work out what you are looking at. A bottle cannot fix every cloudy lens, and the best first move is often a careful inspection rather than a checkout button.
Start by checking the lens, not the product title
Clean the headlight gently and look at it in daylight. Check for a cloudy or yellowed appearance across the outer lens, then look for cracks, chips, moisture inside the housing, or damage that seems to sit beneath the surface. A surface-restoration product is meant for the outside of the lens. It is not a repair for a cracked assembly, water inside the lamp, or damage you can see behind the plastic.
If the lens is badly damaged or you are unsure where the cloudiness comes from, ask a qualified mechanic or body shop to inspect it. That is less exciting than ordering a kit, but so is discovering that a bottle was never going to address the actual problem.
What the QIFOR kit listing says is in the box
The current M&M Devs search result describes the QIFOR Automotive Headlight Restoration Kit as a 6.76-fluid-ounce kit. Its listing says the box contains a 6.09-ounce yellowing-removal solution, a 0.34-ounce crystal-plating solution, a towel, and a sponge. The listing also describes the final coating as ceramic and claims it provides UV protection. Those are seller-provided details, not the result of an independent product test, so read the live listing and the package instructions before you decide.
The API search result listed the price as $19.98 when checked. Online prices can change, so treat that as a snapshot rather than a promise. See the QIFOR headlight restoration kit on Amazon and confirm the current contents, directions, and price before ordering.
Before opening anything, make a small plan
Restoration products often involve more than wiping a lens once. Read every step on the package first, including any preparation, application, drying, or curing directions. Check whether the maker calls for materials that are not listed in the kit. The API description names a towel and sponge, but it does not establish that those are the only supplies or precautions you will need.
Also check what the package says about coverage. The search description gives bottle sizes but does not say how many headlights one kit is meant to treat, how much solution each lens needs, or whether the maker recommends more than one application. Do not try to calculate those answers from the ounces alone. If the live listing and the instructions do not make coverage clear, contact the seller or choose a product with directions that answer the question before you order.
Choose a place where you can follow the directions without rushing. If the instructions call for a dry surface or a particular temperature, make sure your setup meets those conditions. Keep the solution away from paint and other surfaces unless its directions say they are safe to contact. If the package recommends gloves or eye protection, use them. Do not improvise a stronger mix or combine the products with household cleaners.
It can also help to photograph both lenses before you begin. That gives you a fair before-and-after comparison later, rather than relying on the memory of how cloudy the passenger-side lamp looked in a dim garage. Stand in the same place for each photo and use similar lighting; a bright reflection can make one lens look clearer than it is. Compare the two headlights again after the product has had the time specified on its label. If one still looks much different, do not assume that another coat is automatically the answer. Recheck the instructions, and consider whether the difference points to a separate issue such as internal haze or physical damage.
Why the test area matters
If the instructions allow it, try the process on a small, less noticeable part of the lens first. Follow the listed steps exactly and inspect the result before treating the full surface. A test area can show whether your technique is leaving residue, whether the finish looks even, and whether you need to slow down. It cannot guarantee the same result everywhere, but it is a sensible way to avoid turning a small uncertainty into a full-lens surprise.
Use only the pressure and materials specified by the manufacturer. A rough pad or an extra-long scrubbing session may seem like a shortcut, but it can create a new problem. If the product requires sanding or another step that makes you uncomfortable, stop and ask a professional rather than guessing your way through it.
How to judge whether it is worth doing yourself
A kit may make sense if the haze appears to be on the outside, the package instructions are clear, and you are comfortable following them carefully. Think about the time as well as the price. You will need to prepare the area, work through the steps, and respect any waiting time. A low-cost kit is less of a bargain if you cannot give the process the attention it needs.
Professional help may be the better choice when the lens is cracked, moisture is inside the housing, the haze appears internal, or you simply do not want to work around chemicals and delicate trim. Ask what the service includes and whether it addresses the cause you noticed. A clear conversation beats buying the wrong fix twice.
Keep your expectations modest. A seller's claim about UV protection is not a guarantee of a particular lifespan, and a restoration product cannot make a damaged headlight new again. Results depend on the lens condition and on following the product directions. If the appearance changes little after a proper attempt, further treatment may not be the answer.
A quick pre-purchase check
- Confirm the listing is for the QIFOR kit and review its current contents and directions.
- Decide whether the problem looks like surface cloudiness or possible damage inside the lamp.
- Check which preparation and safety supplies the instructions require.
- Make sure you have enough time to complete each step and any stated drying period.
- Compare the kit cost with a professional inspection if the lens is cracked or the cause is unclear.
Headlights are not the place to wing it. Inspect first, follow the package directions, and stop if the lens condition does not match the job the product describes. That small pause can save you from expecting a bottle to solve a problem that needs a different repair.