
A Practical Kitchen Countertop Reset: 4 Shopping Checks Before You Buy a New Gadget
Your countertop resets only when every gadget earns clear daily space value, so small swaps stay useful instead of adding noise.
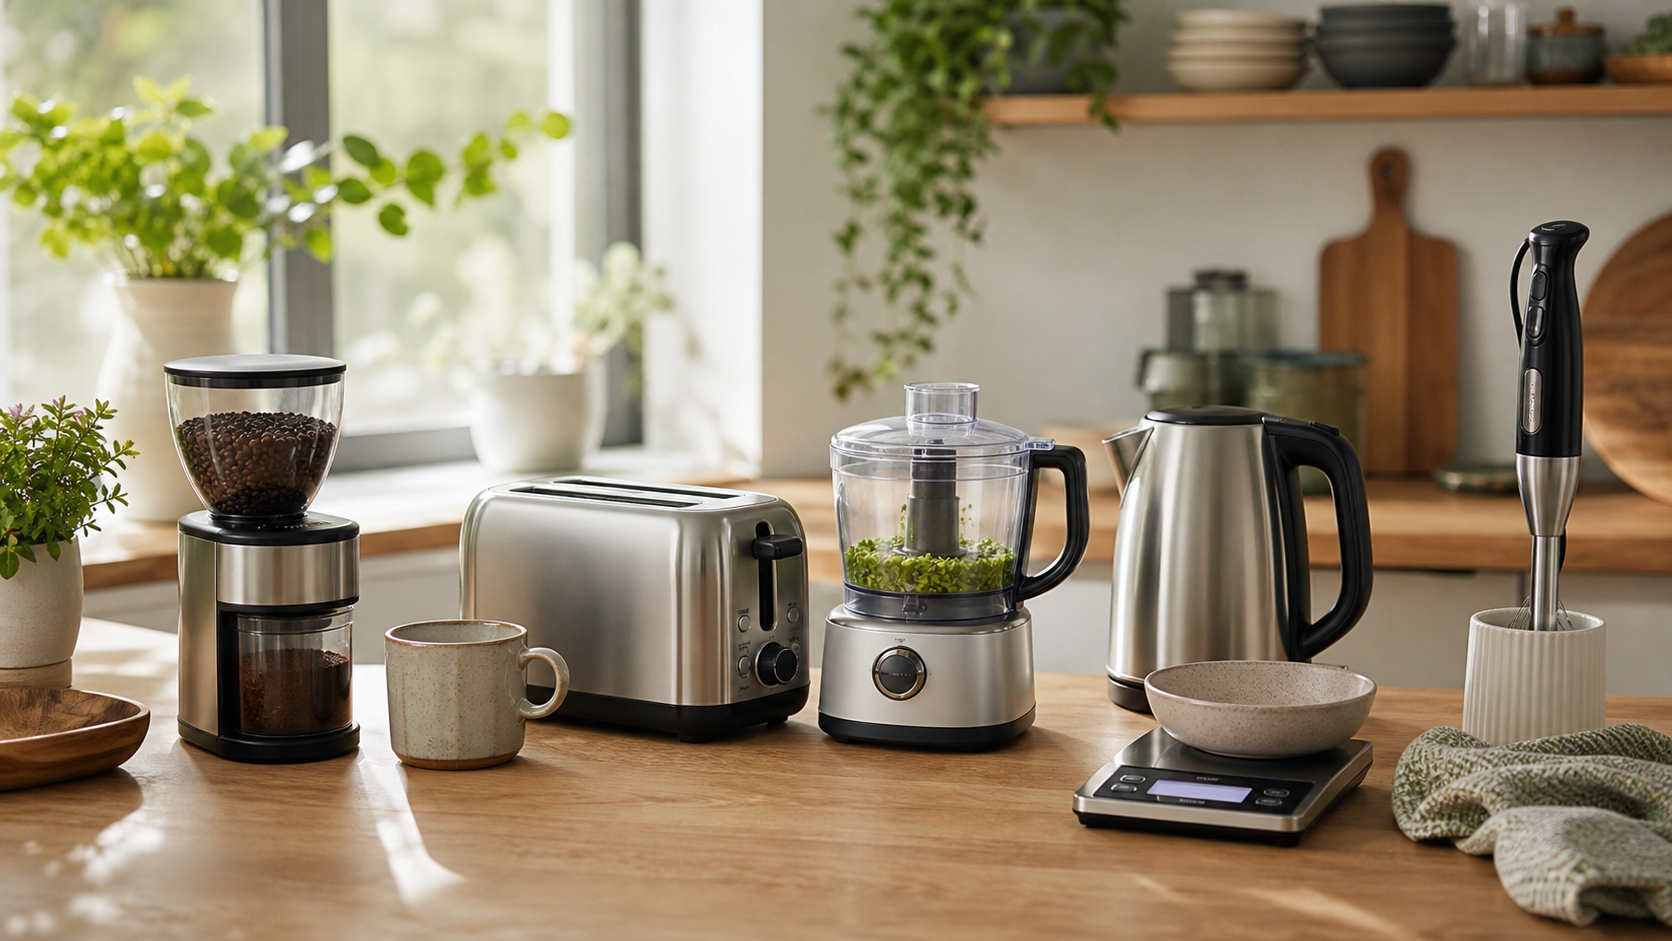
At 6:58 on a workday, your morning usually starts with coffee, a stack of mail, and a counter with one more task than it has space for. One person owns the kettle, another owns the toaster, and a third person owns the cereal bowls and says, this one thing will help. That is a great moment to slow down before buying.
Most countertop buyers say we need more tools. In practice, we need better rules for what we already own. A countertop reset is less about getting every tool ever made and more about reducing the number of tasks one square foot has to carry. This is a grocery-level planning exercise, not a deep design project.
Step 1: Pick the hardest task, not the newest trend
Before opening Amazon, name one pain point in one sentence. Maybe you squeeze lemons on the floor. Maybe your blender and cutting board are always in a fight for elbow room. Maybe your coffee prep is five minutes longer because you use two extra containers.
The first mistake is picking an item because it has good reviews. The second is choosing every item that seems convenient. Instead, use a simple test: if the gadget does not solve a specific pain in one step, skip it. If it only makes your counter look fresh for one day, skip it. If the pain is not visible daily, make your list shorter.
Step 2: Use a footprint math rule
Keep this line in your head: each new object must remove at least one thing, without add one thing. If you buy a gadget, it should replace a bottle, bowl, or duplicated task path. For example, a compact slicer only matters if it replaces both the cutting board waiting and another manual step you already do. If your setup requires one extra cutting board because the gadget has no safe storage spot, you added clutter even if you reduced clicks.
Mark the floor space you truly need. If a gadget uses two square feet and cannot move under a hook, drawer, or narrow shelf, ask it to justify its rent.
Step 3: Validate power, cleaning, and cleanup rhythm
Countertop gadgets fail fast when they drain power cycles, attract spills, or take longer to clean than they save. Ask three questions before click-to-buy:
- Where does the power cord go, and does it cross the walkway?
- Can it be wiped in 20 seconds during a normal routine?
- Does it have an easy storage place after use?
If one of these is unclear, open a fresh browser tab and check the product listing details again. You do not need perfect certainty before every purchase, but you do need enough clarity to avoid one more permanent counter fixture.
Step 4: Build a two window shopping pattern
Use one page for broad inspiration and one page for final checks. The broad view helps you stay aware of category standards and pricing style. The narrow check keeps you honest about your use case.
Start with a broad sweep on the Amazon kitchen best seller page so you can compare what categories are actually moving. Then move to deal focused lanes for one category, not ten. A focused list keeps your counter focused.
For a practical example, pull the current deal list for countertop gadgets and scan for items that mention both compact size and multi step use. If a listing only claims speed, hold off. Speed without fit still eats your counter.
Where to start for tight spaces
The three easiest starts for crowded kitchens are usually storage, prep, and timing. For prep, look for compact tools that combine more than one job, like chopping plus short stirring tasks, but only if cleanup is still simple. For storage, choose stackable containers or units with removable trays. For timing, choose a device that helps you do a daily action in one pass, like quickly measuring and mixing, instead of adding an extra transfer step.
You can use the same principle with different style goals:
- Small spaces: pick one rotating stand or one two in one tool instead of separate specialty gadgets.
- Family mornings: prioritize a tool with one control and one cord.
- Shared counters: choose tools that can be shared between people without dedicated cleanup routines.
Example budget checkpoints before checkout
Below are example listing types that usually pass the counter reset logic better when they are compact and multipurpose:
- Example compact kitchen tool listing for smaller counters and repeat use.
- Example countertop helper listing for one step prep workflows.
- Example compact kitchen appliance listing when counter space is the main limit.
If you want a lighter setup, start with one listing and one backup listing and do not add a third until the first one is used for a full week. Amazon has enough choices to make indecision easy.
A simple reset checklist you can use tonight
When you are ready to buy, run this checklist without exception:
- Does this tool solve a specific 10 minute pain?
- Does it reduce two motions into one motion?
- Can it be stored in one of your existing spots?
- Can it be cleaned in under 30 seconds?
- Have you checked one broad comparison page and one deal focused page?
If you get fewer than three yeses, wait until your current setup actually breaks. Countertop stress gets fixed by fewer gadgets, not more.
Why this works in real kitchens
Most people think gadget shopping is about speed. Most homes need consistency. A counter reset works because it turns shopping from impulse into a routine. When one tool truly replaces a cluster of small chores, you have the right move, without a shiny one.
Try this on your next run: reduce, reset, and re-check in one week. You can still enjoy modern convenience and still leave room for a kettle, a cutting board, and a clean patch where nobody trips over extra jars.
Takeaway
Your countertop only gets calmer when each new item proves it earns its square inches. So if your shopping list keeps growing, tighten the rules first, then add the smallest useful helper you can truly trust for daily use.