
The Five-Minute Reset for a Cordless Pressure Washer
Mud is gone, the patio looks better, and the washer is still dripping in the driveway. A short cleanup now can make the next use less of a scavenger hunt.
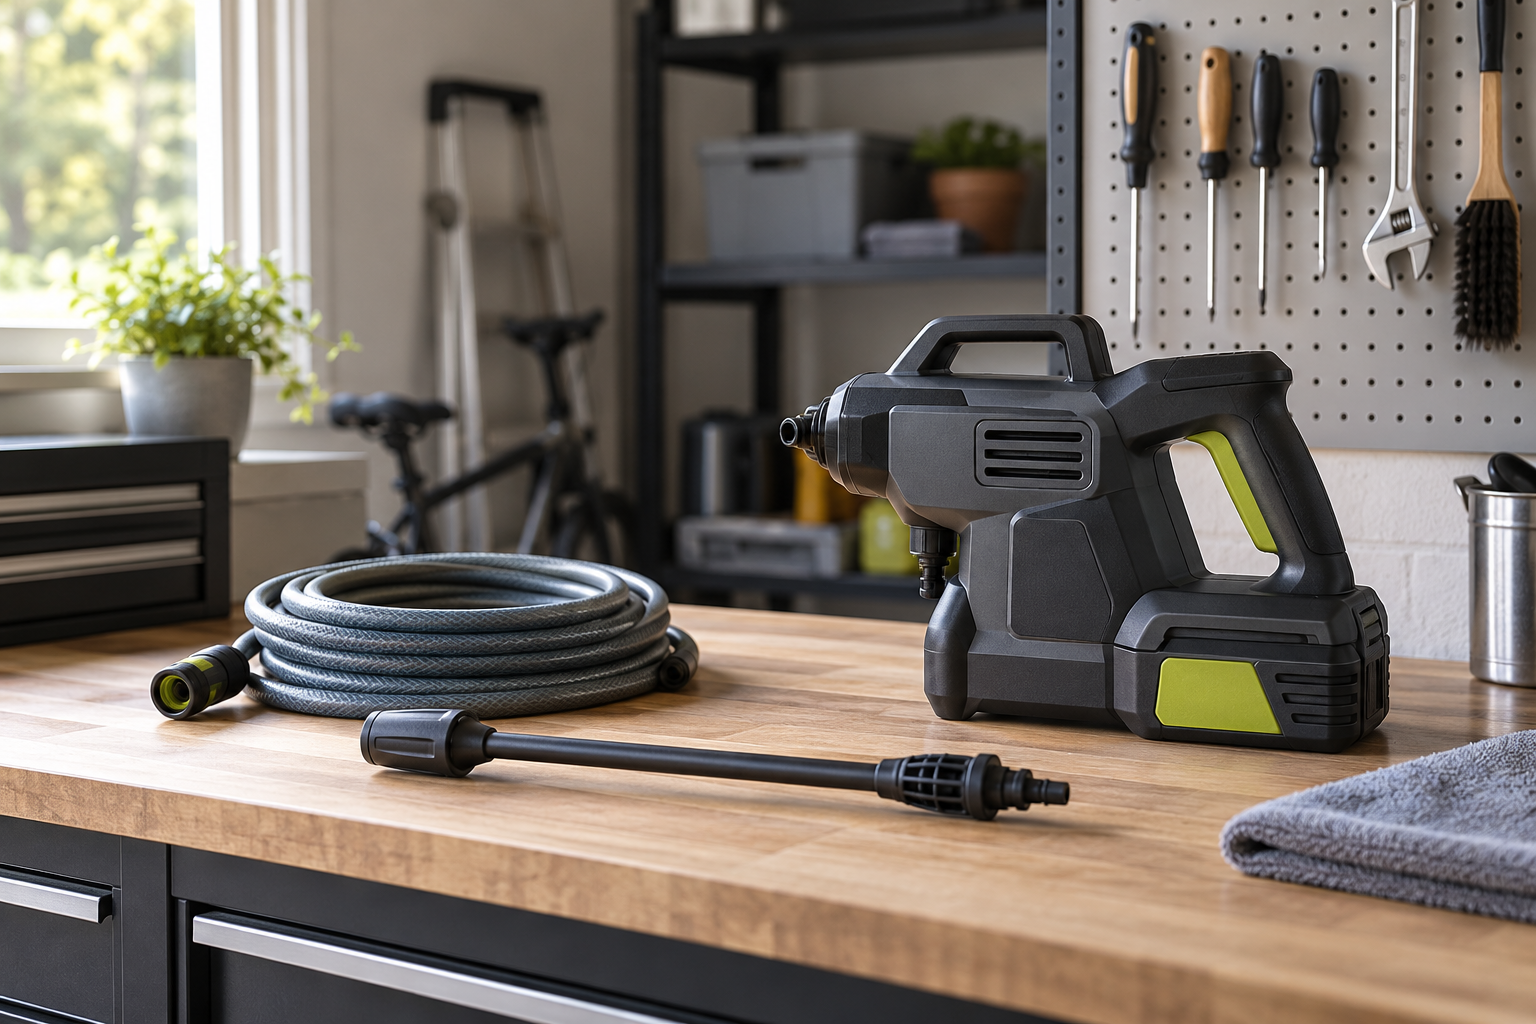
The patio is clean, the muddy bike is no longer wearing half the yard, and the cordless washer is sitting beside a damp hose and a nozzle with grit on it. It is tempting to put everything away and call the job done. That is also how a small cleanup turns into a search for the right attachment next weekend.
A few minutes of care after each use can help keep the kit organized and ready for the next ordinary mess. The routine below is general guidance, not a substitute for the instructions that came with your washer. Models differ, especially around draining, battery removal, and storage, so follow the manual whenever it gives a more specific direction.
Start with the safe shutdown
Switch the washer off before you handle the hose, nozzle, or battery. If the maker says to remove the battery for storage or cleaning, do that before you wipe the tool down. Keep the battery and charger away from water, and do not spray or rinse the body of the washer unless its manual says that is safe.
This is a good moment to let the washer cool if it has become warm during a longer job. Do not rush to pack a warm battery or charger into a closed bag. The small pause costs less time than trying to remember later whether the gear went away wet, hot, or both.
Deal with the water left in the kit
Portable washers often use a hose and a water source that may be a faucet or a container, depending on the model and setup. Once the job is over, follow the maker's shutdown directions and release any remaining pressure as instructed. Then disconnect the water source and hose in the order shown in the manual.
Emptying water from removable hoses or containers before storage is a sensible starting point, but do not guess at a special purge or pump-clearing procedure. Some models need a particular sequence. If the manual explains how to drain the unit, use those steps rather than improvising with a trigger pull or compressed air.
Take a quick look at the hose while it is disconnected. A sharp bend, crushed spot, or loose fitting is easier to notice now than when you are standing in the yard with a bucket ready. Coil the hose in a relaxed loop, not a tight knot that has to be wrestled open later.
Give the nozzle a quick look
Small pieces of grit can be easy to miss around a nozzle or connector. Wipe away dirt on the outside with a soft cloth. If the manual describes a safe way to clear a blockage, use that method. Do not poke a pin, wire, or random household tool into an opening unless the manufacturer specifically recommends it. A damaged part may spray poorly, and a tiny opening is not the place for enthusiastic craft time.
Check that removable tips and adapters are accounted for. If the kit has several similar pieces, put them back in their labeled spots or take a quick photo of the layout before packing. That is not glamorous maintenance, but it can prevent a five-minute job from starting with a twenty-minute hunt through a drawer.
Dry the outside, then store it sensibly
Use a clean cloth to wipe mud and water from the outside surfaces. Let parts dry as the instructions recommend before putting them into a case or closed storage bin. Do not leave the kit where rain can reach it, or where children or pets can pull on a loose hose or battery.
A cool, dry storage spot is a practical default for outdoor equipment. Keep the battery and charger in the location and conditions specified by their maker. Temperature limits and charging rules can vary, so there is no universal storage trick that replaces the product's own directions. If you cannot find the manual, check the brand's product support page before assuming a particular battery routine applies.
Keep the main pieces together: washer, hose, approved attachments, battery, and charger. A small labeled pouch or the supplied storage case can keep connectors from migrating. If you store the charger separately, choose a spot that is easy to remember. The goal is a kit you can find, not an elaborate filing system for garden gear.
If the washer will sit unused for a while, check the maker's storage notes before you put it away. Battery charge level, removal, and storage conditions are model-specific, so avoid treating a tip for one tool as a rule for every cordless washer. Before the next use, glance over the hose and connections again, make sure nothing has shifted or cracked in storage, and set out only the attachments you recognize. A quick look is easier than discovering a missing connector after you have filled the water container.
Make the next setup easier
Before you put everything away, note anything that needs attention. A fitting that felt loose, an attachment you could not identify, or a hose that kept kinking deserves a look before the next job. Do not keep using a part that appears cracked or damaged. Check the manual or contact the manufacturer about a replacement that matches the model.
It can also help to leave yourself a short note about the setup that worked. For example: which approved connection you used, where the water came from, and which nozzle setting suited the job. This is especially handy if you use a bucket or another non-faucet source. Write down what you actually tried, not a guessed setting that sounds impressive.
If you are comparing a portable option for your own outdoor cleanup routine, check the current listing and included parts before buying. Here is the SEESII cordless pressure washer listing. Confirm the model, accessories, and care instructions on the listing and in the manufacturer's manual; included parts and product details can change.
A little routine beats a big rescue
There is no need to turn cleanup into a weekend project. Switch the washer off, follow its directions for pressure and water removal, look over the hose and fittings, wipe and dry the parts as directed, then put the kit somewhere protected. That is usually enough to catch obvious mess or damage before it becomes tomorrow's problem.
When the next muddy wheel or dusty patio shows up, the washer should be easier to find and the pieces easier to sort. You still have to fill the bucket or reach the tap, of course. But at least the nozzle will not be hiding under a damp towel in the garage.