
The Humidity Care Routine for Small Homes That Keeps Summer Purchases Useful
A muggy apartment can make every night feel sticky and still tempt you to add one extra item to cart. This checklist gives a practical route for buying, placing, and maintaining a compact humidity control setup without turning a sale into extra clutter.
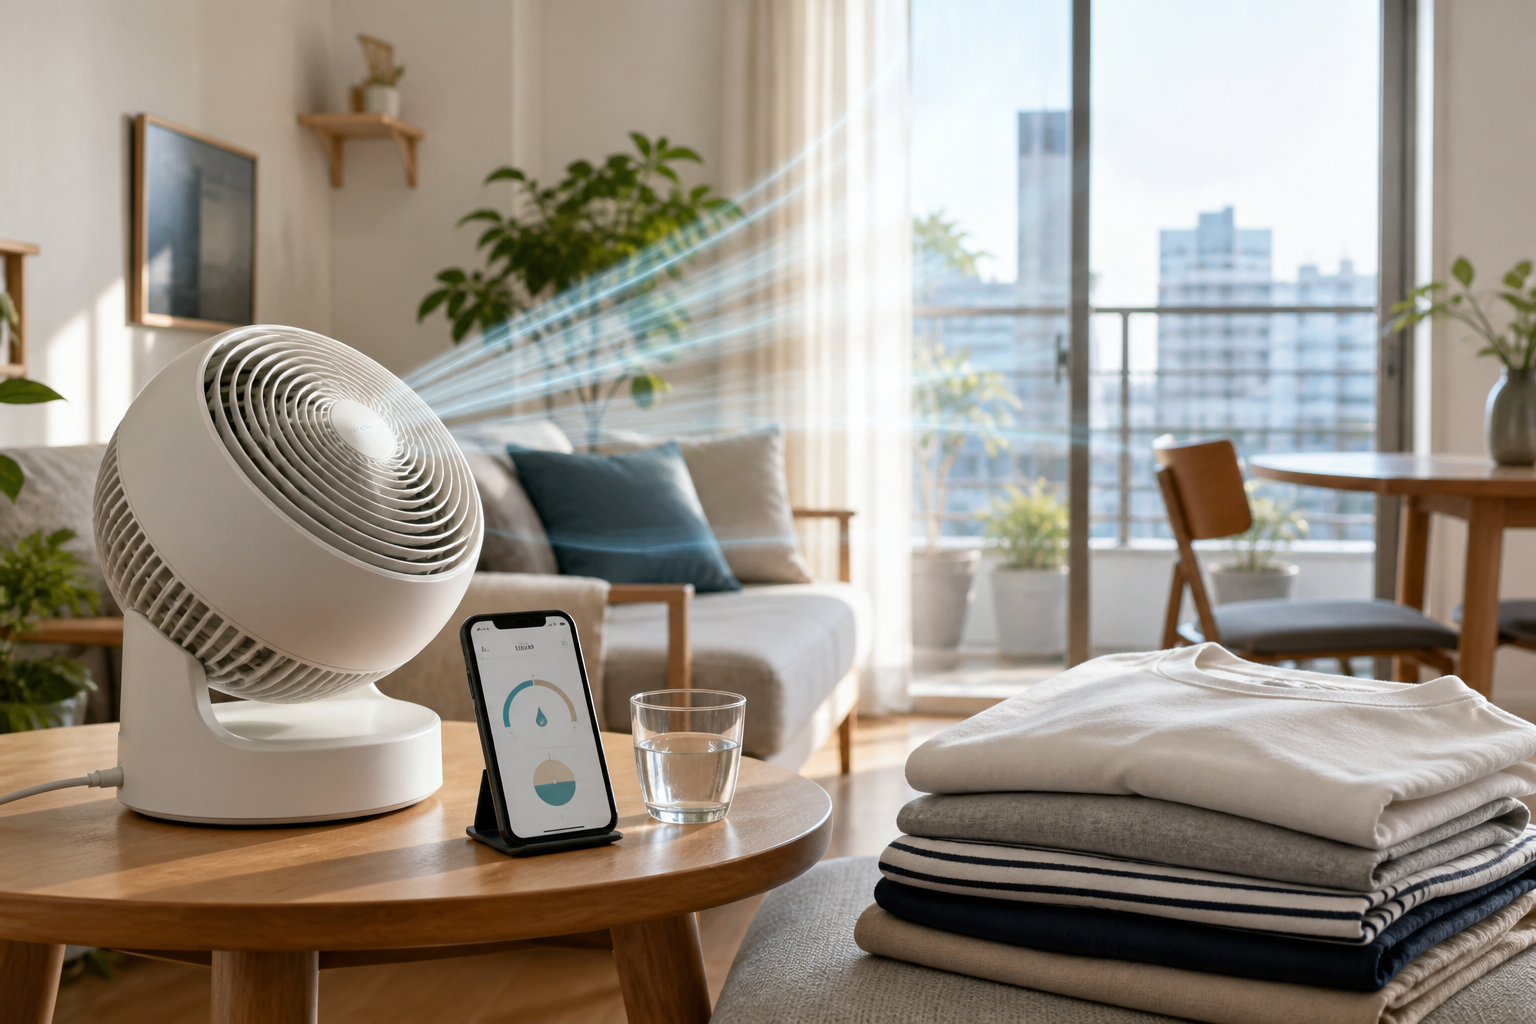
At 11:20 p.m. on a warm July Thursday, you check the thermostat, then your phone. The room still feels damp, your bed is colder than the hallway, and you have a long list of open tabs. You click one deal listing, then another, then another, and by the end of the hour your cart has three items even though you needed only one.
Humidity does more than make clothes feel damp. It makes people skip dinner to adjust filters, opens extra tabs, and turns every quiet corner into a small debate. A lot of these decisions get made in the last ten minutes before checkout, when focus is already fading and the browser is loud with discounts.
That is why this guide starts with a better rule. You are not hunting for a gadget trophy. You are building a small home routine that handles heat waves, wet laundry days, and closed windows without turning your room into a mini stockroom.
Before you buy, define what counts as success
In many rooms, people mix three goals. They want drier air, less dust smell, and a low noise level. Those are fair goals, but they can conflict during humid months. Write them down in one line each before you browse product pages. Then choose one default mode for each day: sleep mode, work mode, and cleanup mode.
When your goal is clear, a product is easier to test. If your goal is generic comfort, you will keep adding items until your budget and patience both feel tired.
Six practical checks before checkout
Use this order before pressing buy.
- Room size and shape. A compact room can need less output but better circulation. Measure the main space where the unit will run. If a unit suggests too large a space, it may push air too hard and still miss the damp corners.
- Filter plan with a real schedule. If the filter requires odd accessories every week, you will stop using it. Pick one setup you can repeat every 7 days without inventing extra tools.
- Noise level in your daily scene. If your room is your office and your sleep room together, low mode performance matters. Keep one setting that is quiet enough for evening use.
- Access for drain and cleaning. A device that drains into a hard-to-reach tray becomes a shelf holder in practice. Verify there is enough floor edge and shelf space.
- Return window and support. If the seller only offers short windows for return or filter replacement, do not ignore this. A bargain with strict return timing is a gamble.
- Cart budget cap. Set your total including accessories. If you cross it, stop and wait one week. A real need can still pass this test. A loud add on should not.
With that framework, compare only a few options. You do not need three models and twelve cables. Start with concrete examples first, then test one. A practical shortlist today can include: Shark Air Purifier with True HEPA - HP102, oneisall air purifiers for home pets with washable HEPA and activated carbon, and Bedroom Pedestal Fan for circulation support. Keep the shortlist to needs you already confirmed.
How to run a 72 hour use test
Do not buy a second unit before this test is done. You are only checking what you already selected. The test has three checkpoints. First, run the unit at base mode in its final room location for the full first night. Second, note if airflow stays even and if humidity feels less sticky in the second morning. Third, compare power use and noise with settings you can actually keep.
Most people check only one moment, usually after dinner. A stable routine uses two mornings and one evening. If the unit still does not match your goal after 72 hours, you can return or exchange before options close. If it does match, you know your cart choice was not random.
Do not add accessories during this test. Additions can hide weak base performance. If you want a fan helper, add it after week one when you already have a baseline.
A simple care rhythm for week one to week four
Humidity gear performs better with small habits than with aggressive upgrades.
Week one: check placement, run one consistent routine, and clean the first filter check path before it dries. Many people skip this and then expect one month of performance.
Week two: clean the intake area and confirm the fan is moving air through open lines. If you hear air loss, adjust placement before reaching for a new unit.
Week three: inspect tray, hose, or drain route, and remove buildup around the back panel. This step costs less than buying a larger unit and often fixes smell complaints.
Week four: test return timing and decide if any component should be exchanged. If a unit has not improved room feel after a full month, use your return window while the purchase is still manageable.
A small story that changed the outcome
One reader shared this routine with a small apartment that felt wet every evening. Her first purchase had a good price, but she added a second remote control unit because the first one seemed to do little. The second unit never fixed the issue, because the real miss was filter access and return timing, not power. She reset to one base unit, one fan position, and a weekly clean plan. The cart got smaller, and the room settled. That is usually the real win. You do not need a shelf of gadgets. You need one thing that stays useful after week one.
Common overbuy choices to skip
First is the impulse add on. It is easy to justify in one line and then forgotten the next morning. Second is the oversized model with a matching bundle. It may handle a bigger room, but your issue is small room airflow and habits. Third is the no return accessory set. If it fails in the first week, money is locked to a bad direction.
Make one last rule before checkout: no single deal can beat a maintenance plan. The best unit is the one that still works after a full month, not the one with the loudest headline.
Final 10 minute version
If your plan is already full for tonight, use this list before you click anything. Pick one core unit. Set one room goal. Run a 72 hour test. Follow week one to week four care steps. Replace only when a clear issue remains after testing. This saves your budget and also saves shelf space for the next real season.
That is the whole point. A humidity routine is not a test that ends at checkout. It is a habit that starts there and ends when your room feels stable for good.