
Before You Click Buy on the Next Amazon Sale, Run a 6-Step Air Comfort Safety Scan
Heat waves make air-comfort purchases urgent, but a six-step check keeps your Amazon decisions practical and avoids buying expensive gear that is not needed yet.
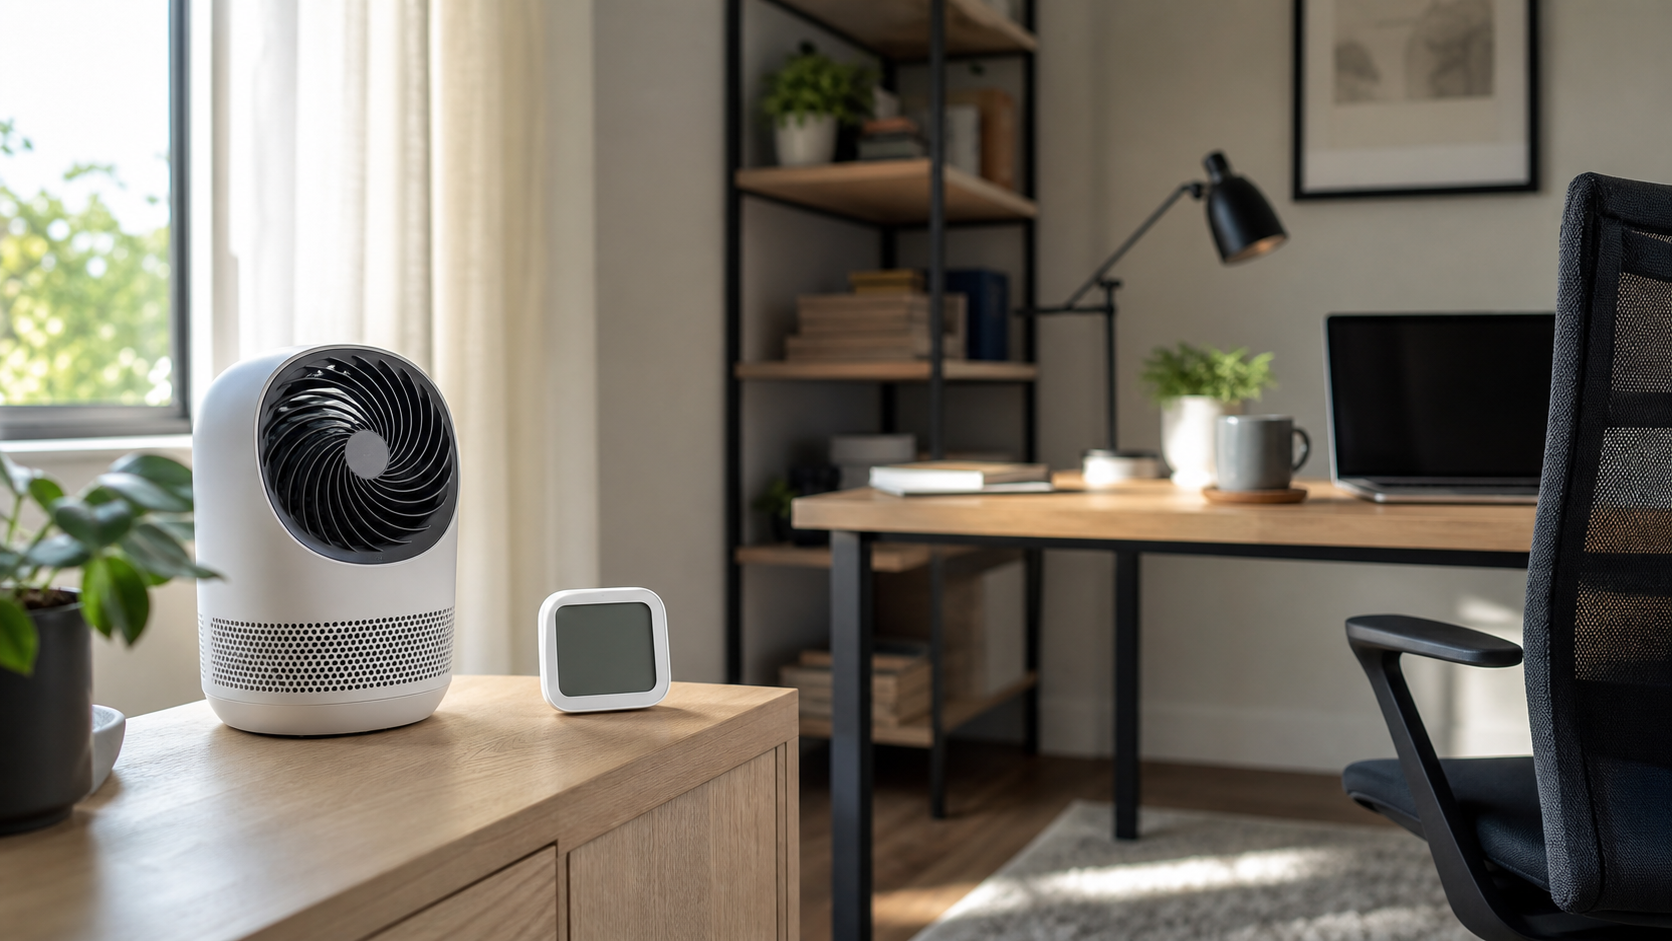
At 8:00 p.m., your living room is warm, the windows are still shut, and a bright cart page on Amazon says the price drops in 14 minutes. That is often how impulse buys begin. One deep breath and a short safety scan can save you from buying the first shiny box that promises better comfort while quietly stacking risk.
Most air-comfort mistakes are not about bad products. They happen because we buy with incomplete information. A filter that looks useful on paper may be oversized for the room, a fan with too much noise can drive you away from daily use, and a discount can hide a short return window. The goal is simple: buy less, buy better, and keep the house calmer.
Step 1: Start with the real room, not the headline
Before clicking any cart button, check two numbers. First, room size in square feet. Second, the current humidity problem. A cramped room with steady moisture and no airflow behaves differently than a drafty room with dry air. You can read up on the moisture basics from the EPA quick guide, and it is a better starting point than any ad headline.
When you know the room size, do one quick ranking:
- Small room, 10 to 12 hours of daily use
- Medium room, daily use around 5 to 8 hours
- Large room, short bursts only
That ranking changes what you should buy more than any “top pick†list. A unit with lots of power for a small room can be too noisy, too expensive, and still not worth it.
Step 2: Check the filter lifespan before checking price
Price is important. So is how often the product will need new filters. A low-cost purifier with high filter burn and frequent replacements can cost more than a pricier model with larger filter life. Read the official replacement guidance when you can, then estimate annual cost using your usage window, not a one-time cart discount.
Before buying, ask:
- Can I see filter replacement cost in one place?
- Is there a return window that fits apartment life, more than a weekend deal?
- Can I get filter alerts through email or the app without paying for a whole extra setup?
If two models are equal on headline performance, choose the one with clearer replacement and refund terms. That alone often cuts total spend.
Step 3: Keep noise as a decision line, not a side note
Many people treat noise as a comfort bonus, but for air devices it should be a hard filter. If you cannot hear your own podcast with the unit on, you are not getting the value you expected. Pick a unit that can be quiet during the hours you use it most, and strong only when the room starts to feel damp.
A practical way to test this is to compare model settings in a short list before purchase:
- Low, day-time mode decibel level is acceptable
- Peak mode is available but not permanently required
- Night mode exists or the device is easy to dim down
That list looks boring, but it prevents the “sale looked good, room feels better on day one, and peace is gone†outcome.
Step 4: Pair one must-have and one optional add-on
A smart shopping decision has one core device and one optional accessory only. The core device should solve your main comfort issue. Optional add-ons should remove a pain point, not add complexity.
Many readers keep the core and add-on list too big. A common overbuy is adding a smart sensor before buying a fan speed profile you can set manually. Here is a calmer pattern: choose one core unit first, test for ten days, then consider one monitor if the room stays uncomfortable.
Need options? Start with trusted groups only:
Portable air purifiers with HEPA for small rooms and affordable humidity monitors can be useful anchors for a focused shopping plan.
Step 5: Verify practical claims with one source and one checklist
For this category, do not trust only store copy. Use one official source for moisture basics and one for indoor air improvement ideas. The EPA pages are steady references and keep the plan grounded.
EPA: mold and moisture guide gives the practical frame for damp signs, and the EPA indoor air quality guide keeps your routine from drifting into fear-based shopping.
Humor note: a sale timer is not a replacement for a plan, and the loudest ad copy is not a substitute for a quiet evening.
Step 6: Save money by making return windows part of your shopping script
The final step is often skipped. Write your return and exchange window into your shopping note before checkout, with calendar dates next to each candidate. If the window is too short for your home test, skip it. A short window often makes the “good deal†become a bad decision by noon on Sunday.
Use a very short script before buy:
"Room size checked, noise target set, return window clear, filter cost visible, humidity facts reviewed. Buy only one core item today." That little sentence keeps your shopping clean.
The best deals are useful only when you keep using the purchased items in normal life, more than during launch week. If your scan leads to fewer buys, that is not a failure. It is a sign your shopping is finally controlled by your home needs, not by sale noise.