
Why the VEVOR Lawn Mower Lift can make maintenance work cleaner and safer
Mowing is never just one job when the mower is on the ground. This guide explains how a 500 lb hydraulic mower lift can make weekend maintenance cleaner, faster, and safer.
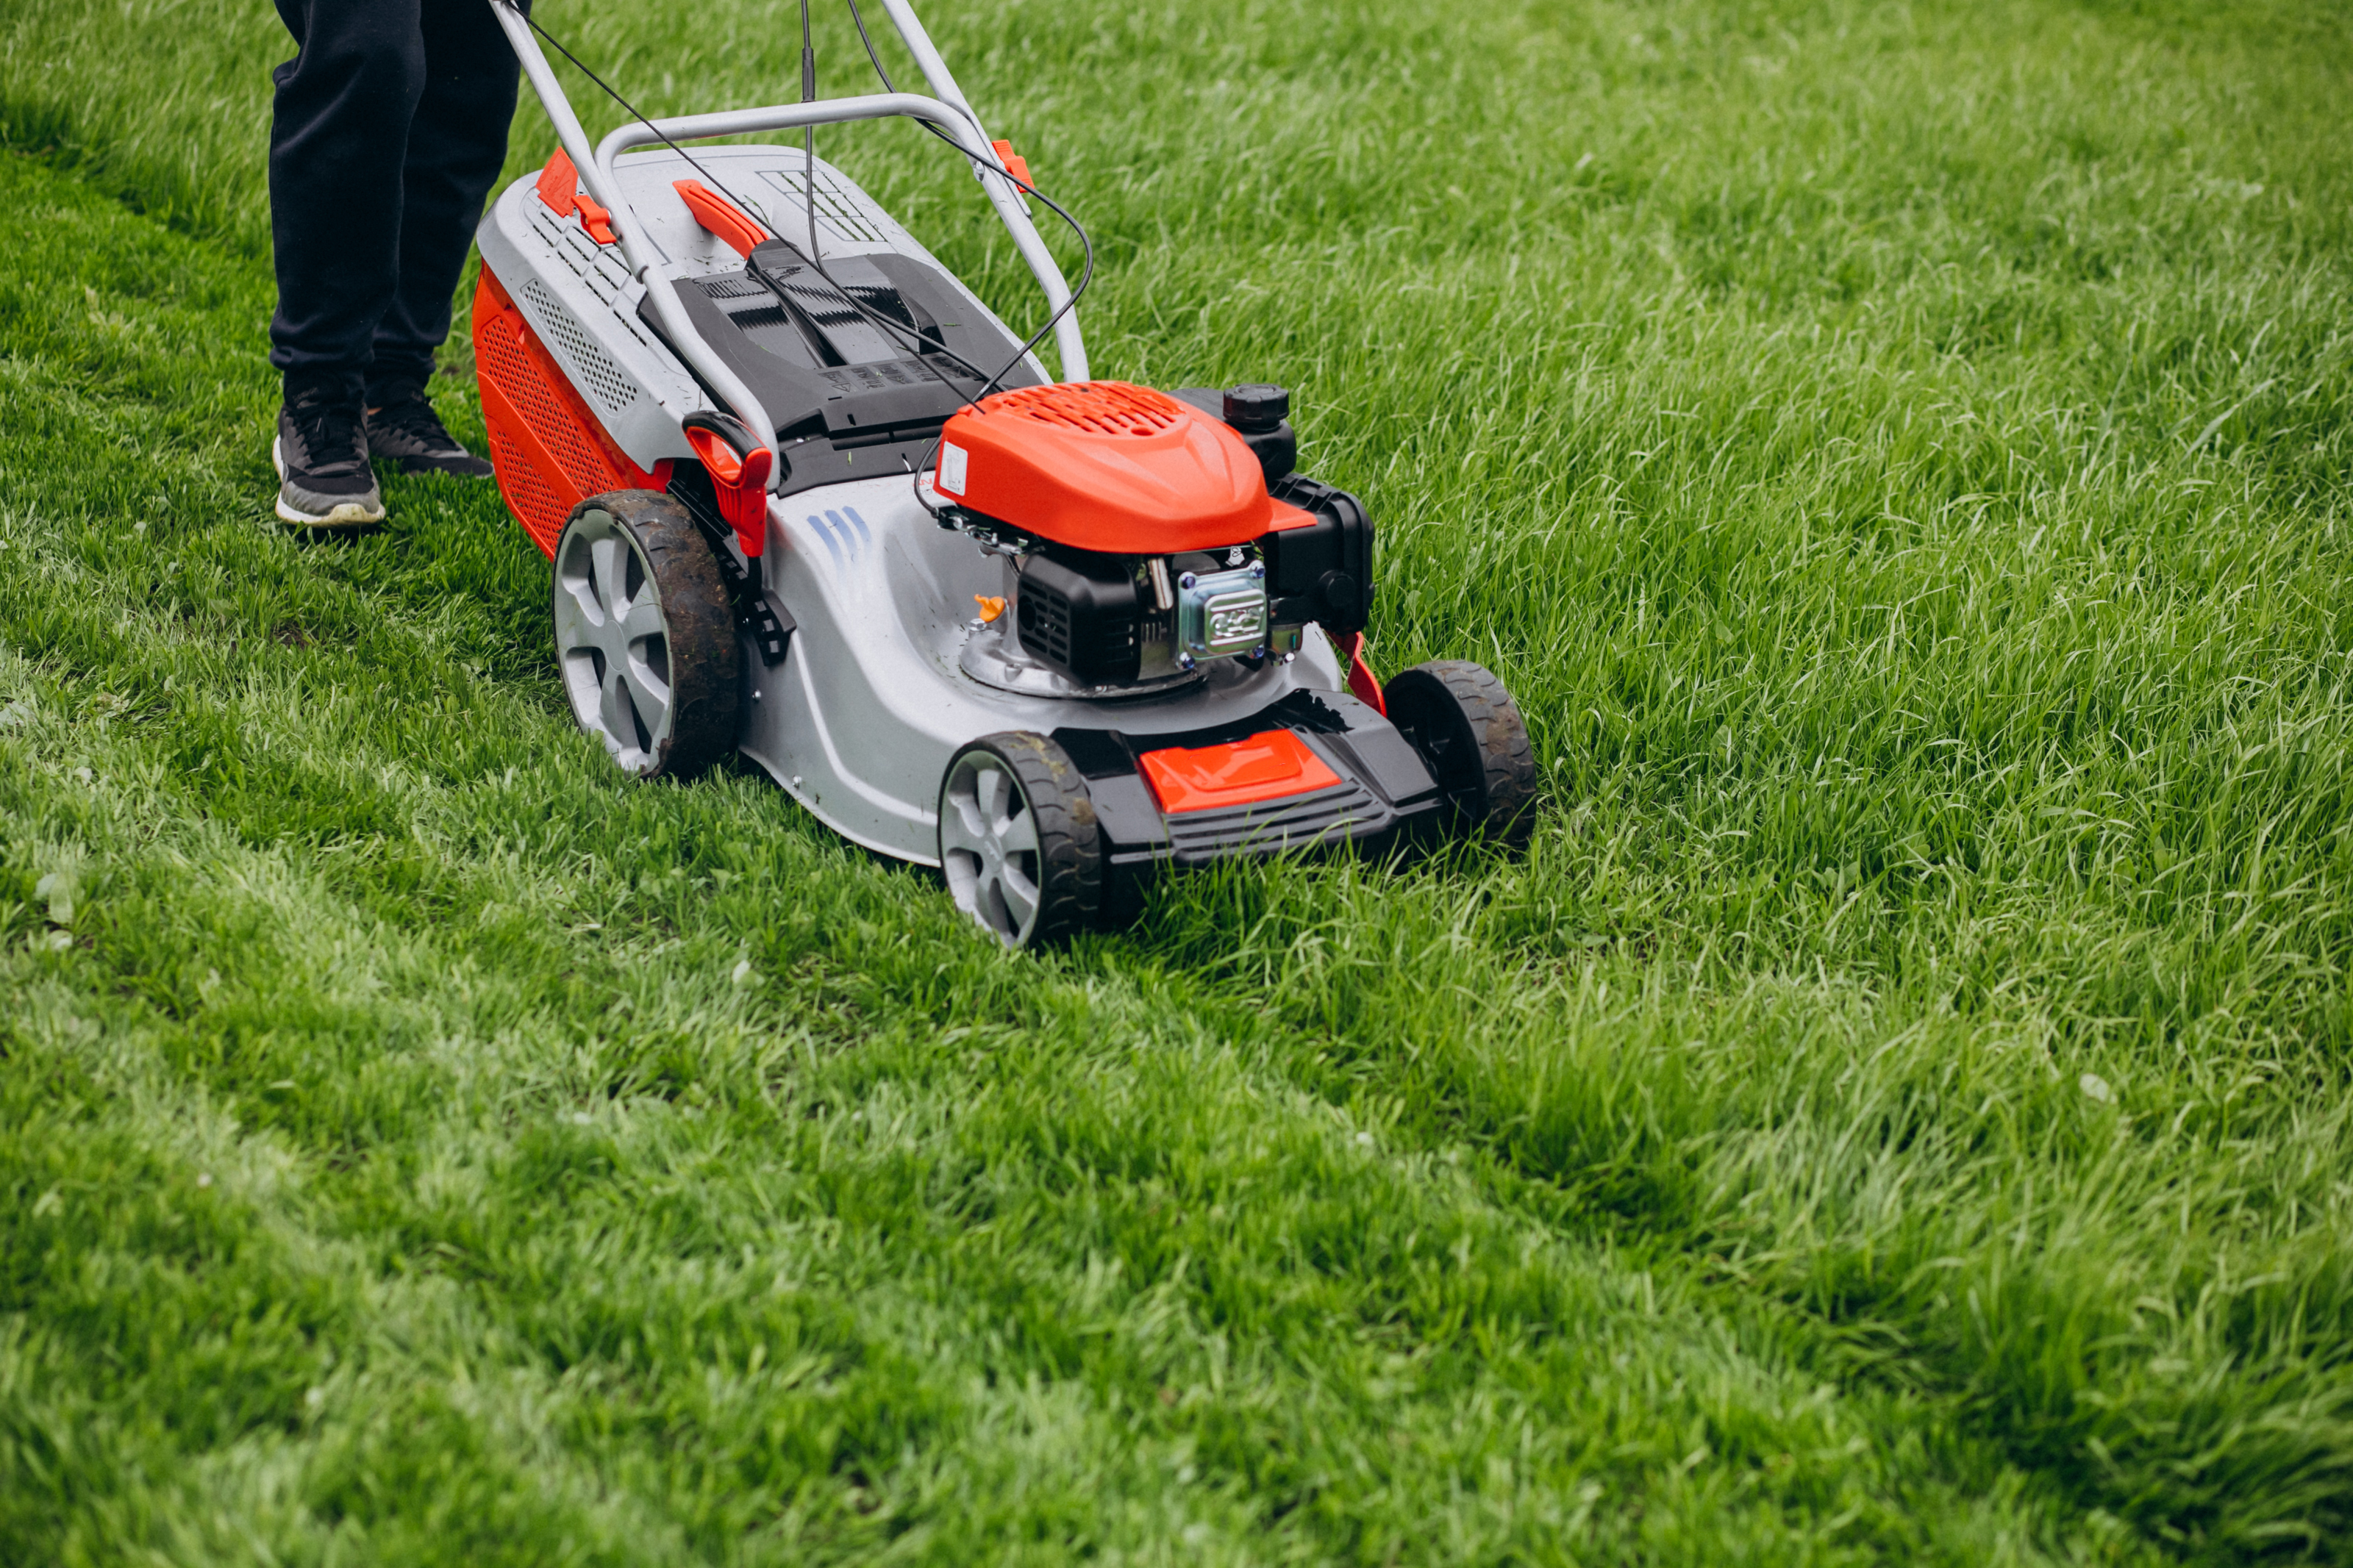
Every summer, mower maintenance starts with the same little argument between your knees and the machine. You are either standing crookedly to drain oil, kneeling too close to the wheel, or trying to replace a blade while keeping your back and patience both in one piece.
Why this routine feels harder than it should
If you have a riding mower or zero-turn mower, you are likely doing maintenance in a tight zone. The deck is heavy to move, the work area under it is low, and every small wrench movement turns into a tiny obstacle course. On a hot Saturday, this can eat an hour you planned for mowing or a coffee run. That is the moment this kind of hydraulic lift shows up: it gives your maintenance routine space, visibility, and a safer setup.
The VEVOR model is marketed around a simple claim: raise the mower to eye level where you can work. In practice, that does not make tasks magical, but it makes them less frustrating. If you have ever reached for a wrench while lying on the ground because the side profile was wrong, you already know why that matters.
What this lift is actually doing for you
Before anyone says 'just use a floor jack,' the distinction is important. A regular floor jack helps with some jobs, but it can be unstable on imperfect ground and it is not always easy to align under a mower chassis that is wider than expected. The VEVOR unit is tuned for this exact use case: a fixed 500 lb load claim, a 17.5 to 24 inch adjustable lift range, and a frame built for moving a machine without improvising extra blocks and wooden crutches.
The first useful feature is consistency. Your hands are freed from trying to hold a wheel while also reaching for tools. The second is repeatability; once you have a stable height, each maintenance step repeats in the same order. The third is that your body mechanics improve. Less twisting and less leaning means fewer mistakes, fewer skipped nuts, and fewer weird shoulder noises the next day.
When the lift is a good fit, and when it is overkill
Some people ask, 'Do I really need this for one or two yearly tune-ups'? The honest answer depends on your workflow.
It is a strong fit if you:
First, you perform blade, belt, or under-deck checks more than once every two months.
Second, you have a garage floor where rolling a mower in and out repeatedly is possible.
Third, you want a safer setup than jacking on uneven ground or temporary platforms.
Fourth, your garage is tight enough that keeping the mower on the ground blocks other chores, and you need room to move around it.
It is probably overkill if your maintenance is truly once in the season, if your lot has mostly compact walk-behind mowers, or if you do not own a hard, level base where the lift can stand confidently. In those cases, a low-profile platform or simply a better folding tarp strategy can do more for your budget.
This is one of those tools that can make life easier, not because it is fancy, but because it removes setup uncertainty. You spend less mental energy deciding where to place your body, which is often the real hidden cost of do-it-yourself maintenance.
What to inspect before you buy
Not every mower lift is built equal. Before you click buy, take five minutes with your phone and check these exact points. If one red flag pops up, pause and compare another listing.
First, verify load capacity is clearly above your mower weight and that it includes a lock mechanism, not just a lift column.
Second, confirm lifting height covers the tools you use most. You need enough clearance for your knees and hands, not just a small bump.
Third, look for welded steel and visible adjustment hardware that can be tightened down, not improvised fasteners.
Fourth, check return policy language. Outdoor hardware can fail early with rough use, so a clear return or exchange window matters.
Most people skip this checklist and focus only on the product title. That is how small, annoying problems show up after delivery. You can avoid that disappointment with a ten-second comparison on paper or a quick note on your phone.
A practical setup sequence after delivery
Getting it to work safely is a process, not an unpack-and-pry moment.
First, place the lift on a solid level floor, not on gravel or old mulch. A bit of uneven ground can magnify wobble and turn a simple service session into a balancing act. Second, park the mower in a neutral position with transmission and ignition controls off. Third, read the manual on where the locking pins and wheel stops are intended to sit. If the lift instructions are sparse, do not force the frame. Slow setup is safer setup.
Fourth, raise only to a working height you can control. The goal is comfort and line of sight, not a dramatic air-gap. Fifth, install wheel chocks if your mower has a chance to roll. Even a small movement while under the lift changes pressure points and can feel dramatic in the middle of the job. Sixth, keep only the tools you need within arm reach. The less clutter around a lifted machine, the easier it is to stay focused and avoid accidental knocks.
That sequence sounds obvious, and that is exactly why it works. Most maintenance errors are not from bad parts or bad luck. They come from skipping the obvious setup.
Using the lift through a full season
People usually underestimate how much a good maintenance setup changes long-term outcomes. A stable workspace makes the small tasks feel normal: checking belts, changing blades, replacing filters, clearing debris around the deck, and inspecting the underside before rust and mud harden. The more normal those tasks become, the less likely they are to pile up.
If you set one short maintenance day per month, the lift pays off in the same way a good kitchen knife pays off. It does not cook dinner by itself, but once the system is in place, you spend less time solving setup problems and more time actually getting work done. Small change, big impact.
Budgeting for it also becomes easier. Instead of buying impulse replacement parts every season because one skip day became two and then three, you are more likely to catch things early. That can keep one mower in service longer than expected, which is usually the best kind of money move.
What kind of person should skip it
Not every garage needs this class of tool right away. If your mowing duties are seasonal, your storage is limited to two narrow walls, and your work style is already streamlined with occasional professional support, this lift may sit lonely most of the year. That is not a bad thing; it is still a valid decision.
Choose a simpler path if your mower is under 17 inches total service clearance, if you only do oil changes, or if your maintenance location is shared with kids and you cannot guarantee a stable controlled zone. A safer, slower workflow with simple tools beats owning a larger rig that is underused.
Final take
Garage upgrades are usually about removing friction. This one removes the worst part of mower work: trying to do precision tasks while crouching in a cramped position. The VEVOR mower lift gives you a reasoned route to safer maintenance, cleaner access, and less improvisation.
For many households, that is the difference between 'I will get to it someday' and 'I actually finish the checklist today.' The equipment is not magic. It is leverage, height, and repeatability, which is exactly what mechanical chores often need.
Product reference and link for this topic: VEVOR Lawn Mower Lift with Hydraulic Jack. Compare any alternatives against your floor space, your maintenance routine, and your storage reality before you decide.